We have these working openSUSE Factory images for the Raspberry Pi, which is an ARM-based mini-computer, and since I want to encourage my kid to do more with computers than playing games (even if they are open-source), I looked into how GPIOs worked.
For that, you need to find the pin allocation – e.g.
in the elinux GPIO description or
http://www.raspberrypi.org/archives/1417
has a video which has it explained at 03:00
For my test, I wired together pin11 and pin12, which are GPIO17 and GPIO18.
I wanted GPIO17 to receive what is sent by GPIO18.
This is how this looked for me: 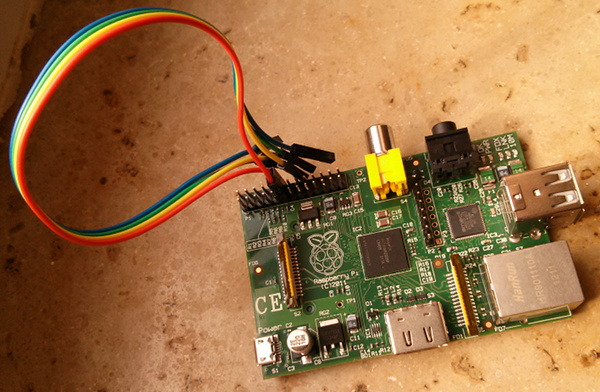
Using it directly from the shell is simple:
echo 17 > /sys/class/gpio/export

echo 18 > /sys/class/gpio/export

echo out > /sys/class/gpio/gpio18/direction

echo 1 > /sys/class/gpio/gpio18/value

watch -n 1 head /sys/class/gpio/gpio*/value
If the wiring and configuration was right, the “watch” will show gpio17/value to become 1 too.
You can then also pull the wire (or insert a physical switch) and see gpio17/value dropping to 0 again, when it is no more receiving the current from the other pin.
If you managed to get this working, you reached level one of hardware-hackery.
Both comments and pings are currently closed.